Resources can be uploaded into Breeio and added to courses for learners to access to support their learning. They are not a required element of a course.
Resources can be added in the resources section of the content area.
1. Click on New resources
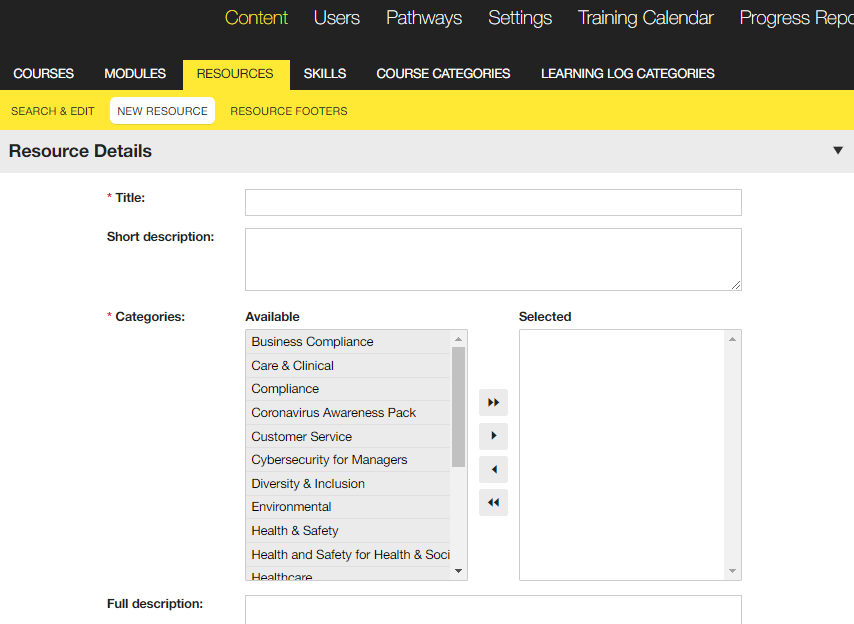
2. Type in the title of the resource.
3. Enter a short description that will appear under the title of the resource.
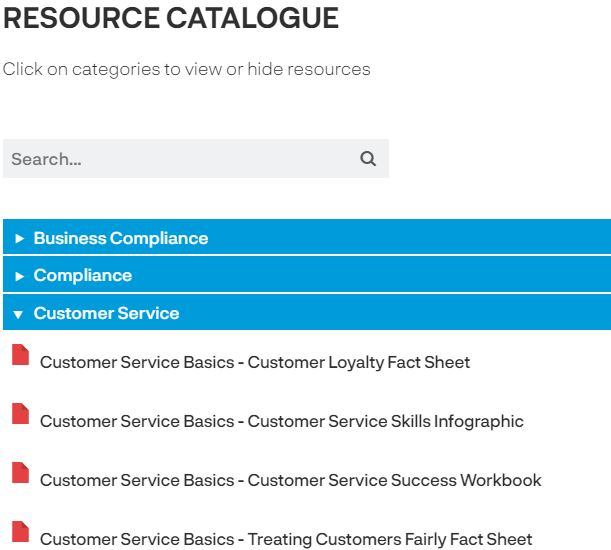
4. The categories determine where your resources appear in the resource catalogue. The resources may also be associated with a particular course but it will always appear in the categories you select here.
5. The full description appears when the user opens the resource. It could be a summary of the content or instructions on using the resource.
6. Select the footer you want to appear. There is a default footer or you can add your own resource footers.
7. If the resource includes a web link, enter the complete URL of the website that you wish to link to in the Web Link box. This means that you must enter the http://.
8. If you have Embed code (from a website like YouTube or Slideshare), you can paste it here. Though hosted elsewhere, your resource will play on the Breeio page and you don't have to use a link and send the user to another website.
9. If the resource includes a file, click the Browse button and find the file you wish to upload to Breeio.
10. If you would like the resource to be available for users other than people assigned to a course that is using the resource, you can choose to make it available to:
11. Click the Submit button to add the resource to Breeio.
You will receive a message telling you if the resource has been added successfully.
See also...